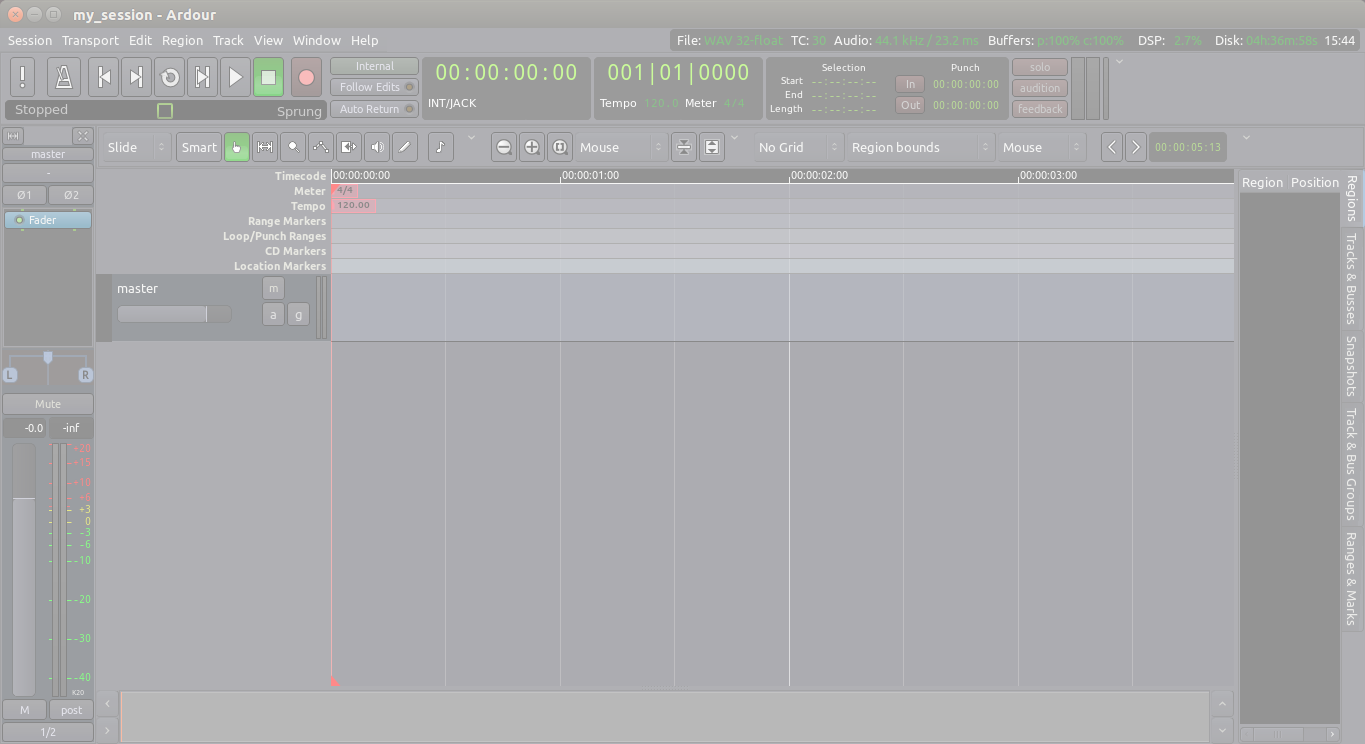
A Send is just an extra output for a Track or Bus with its own separate Fader that can be used to route the signal to other points in Ardour.
Also known as Auxiliary Sends, they tap the signal at a specific point in the signal flow (pre-fader, post-fader, before or after EQs and other plugins, etc.) and send a copy of that signal somewhere else, without affecting the normal signal flow downwards to the channel fader.
In Ardour, you can easily add Sends to Tracks and Busses through the Mixer Strip. Sends are Processors, just like Plugins.
When is a Send useful?
In earlier chapters, we built a drum kit pattern with four separate tracks: kick, snare, hihat, and clap. Let’s say now you’d like to add a reverb to the drums. You could of course add a separate plugin for each individual track, and tweak their settings separately, but this method unnecessarily increases the amount of work. Every time you want to change a reverb setting across the board for all drums, you’d have to open all four reverb plugins and change them in the same way.
This is where Sends come in handy: you can use them to add a particular effect to a set of Tracks without creating multiple instances of the same Plugin.
Here’s the overview of how we will do this:
- Create a single Bus with the desired Plugin.
- Add a Send to each drum track to which you want to apply the effect.
- Route these Sends to the Bus.
Creating the Bus and adding a Plugin
Create a Bus (menu Track > Add Track or Bus), name it appropriately, and add a Plugin in the Pre-Fader Region (right-click just above the Fader blue rectangle in the Processor Box), as discussed in the chapter Using Plugins.
In this example, we have created a Mono Bus called “DRUMS”, and added the “Freeverb” Reverb LADSPA Plugin to the bus.
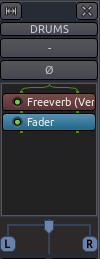
Bus inputs
The “-“ display in the Bus Input button indicates that nothing is routed to this bus yet. We will take care of this later.
Bus output
Before routing a send to this Bus, first make sure that the Bus outputs are Routed to the Master Bus, as shown below (button at bottom reads “master”).

Also, open the Plugin Window (double click on the Freeverb rectangle) and set the Plugin’s signal mix to 1.0 Wet Level and 0.0 Dry Level.
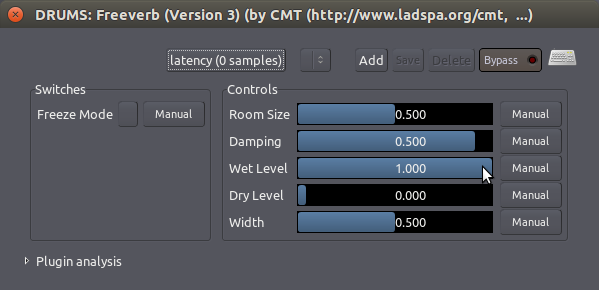
This ensures that the Bus carries all of the processed signal (the ‘Wet’ signal) from the Plugin, and none of the unprocessed signal (the ‘Dry’ signal) to the Master Bus. Remember, the unprocessed, ‘clean’ signals are still available from their original tracks, so there is no need to duplicate them in this Bus.
Creating and Routing Sends
Now we can create Sends in the other Tracks and route them to the Bus inputs.
Like Plugins, Sends are also created in the Processor Box. Go to each of your drum tracks, right-click in empty space of the Processor Box, and create a New Aux Send directed to the appropriate Bus (in our case, named DRUMS).
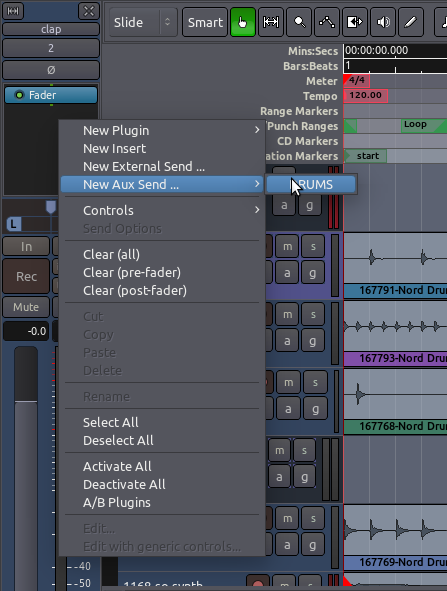
You should now see the Send displayed in the Processor Box:
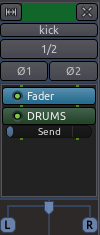
The little “Send” slider you see just below the green rectangle is the Send Fader, which controls how much sound will be sent from this Track to the Bus.
Post-Fader vs Pre-Fader Sends
Notice that the image above shows a Post-Fader Send (it sits “after” the Fader rectangle). In Post-Fader Sends, the Send Level is controlled first by both the Track/Bus Fader and second by the Send Fader.
In a Pre-Fader Send, on the other hand, the Send Level is controlled only by the Send Fader, independently of the Track/Bus Fader. A Pre-Fader Send would look like this:
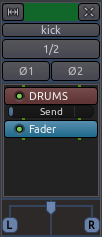
You can drag the Send rectangle up and down the Processor box to make it Pre- or Post-Fader as needed.
TIP: The choice of Pre- or Post-Fader depending on the type of effect Plugin used and the desired result. For this exercise, either one will work.
A Send behaves just like any other Plugin in the Processor Box. You can deactivate it temporarily by clicking on the small “LED”, and you can right click on the rectangle to access other options, including “Delete”.
Send Fader
To control level of each Send, simply click and drag the Send Fader to increase or decrease its volume.
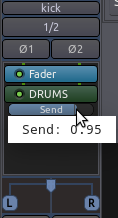
The DRUMS Bus is now receiving the sum of all tracks, and applying the effect to it. A single Plugin applied to the Bus controls the effect for the mix of all drum sounds routed there. This way, you have independent control over the “dry” sound of the original tracks, and the “wet” sound of coming out of the Bus.
Because Sends are very useful for this kind of work with effect Plugins, they are also commonly called “Effect Sends”.
Continuing
Now that you know how to Add Plugins to a Track, as well as how to Add Sends to Tracks to create Plugin Busses usable by any number of Tracks, it might be helpful to learn about a few other Plugins useful in the Mixing Process. Please continue on to the following chapters covering Dynamics and Equalizing.
Next: DYNAMICS
