Learn how to export a selected portion (Range) of your Session.
Exporting is the process of saving a Region, Track or Session to a file on your computer. As we learned previously, exporting an isolated Region does not export all of the changes you might have made to that Region. To export edits such as Panning, Fader Automation, and Plugin effects, you must Export either a Range or the entire Session.
Exporting a Range
To export a range, follow these steps:
- CLick on the Range Mode button (shortcut “R”)

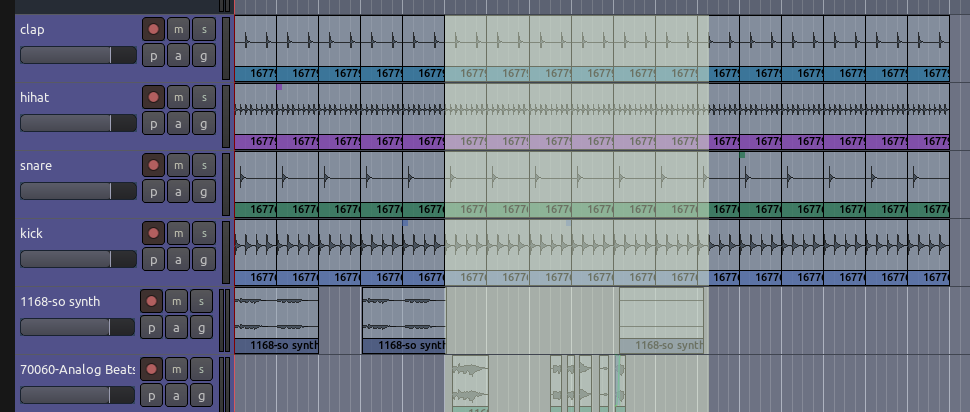
- Make a Range selection:
- Right click on the Range and choose “Export Range” from the menu:
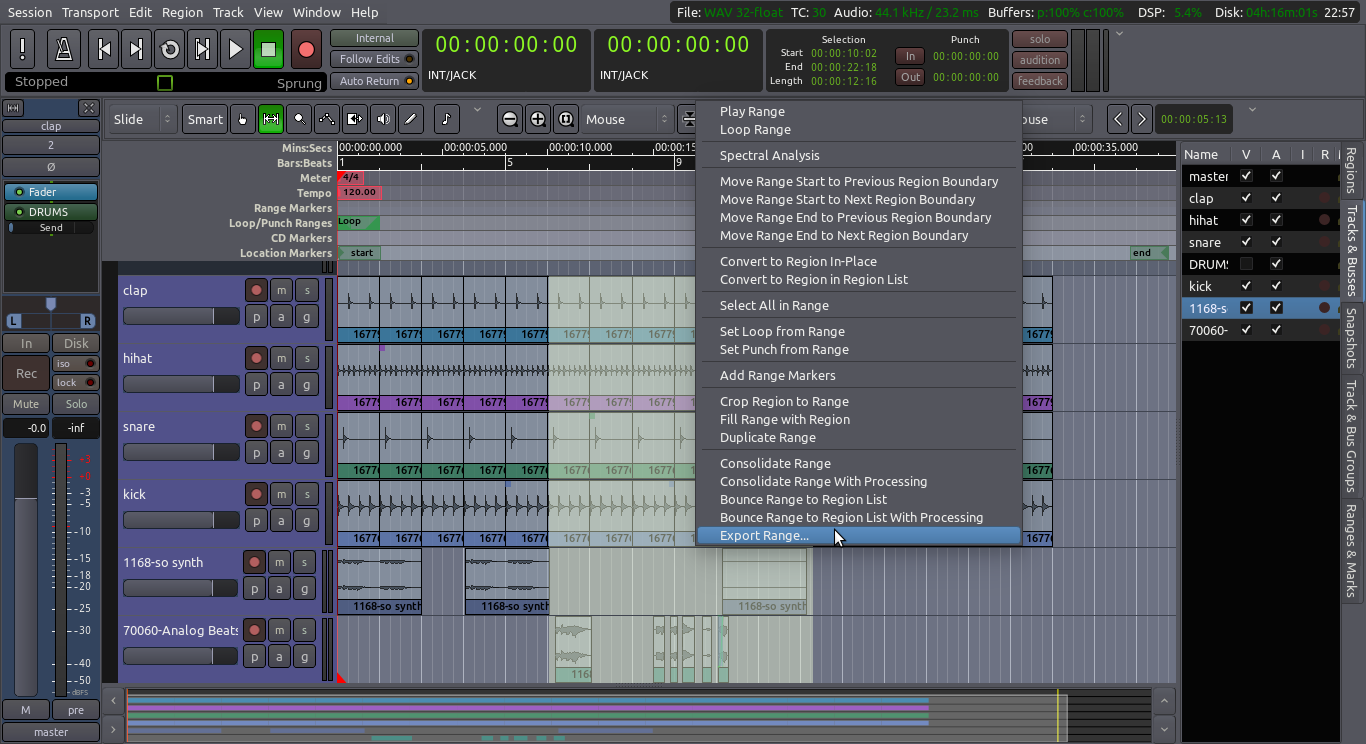
This will open the familiar Export dialog explained in the Exporting a Session chapter. Choose your options, if any, and click Export. The Range will be exported and saved as an audio file.
What exactly is a Range?
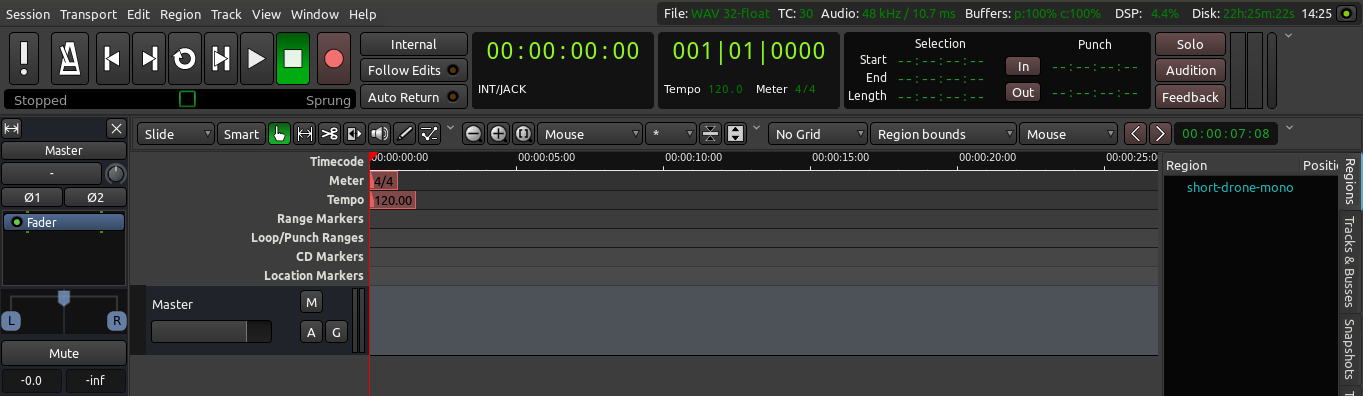
To define a Range is simply to specify a beginning and ending point in time. The Selection display to the right of the secondary clock shows the start and end times of the selected range, as well as its duration. The Range created through the method above will disappear as soon as you click outside of it.
The Export Range command will export everything that plays through the Master Bus, exactly as it plays back in your Session. If any of the Tracks have the Mute or Solo buttons engaged, this will also affect which Tracks are heard in the Exported file.
What is a Range Marker?
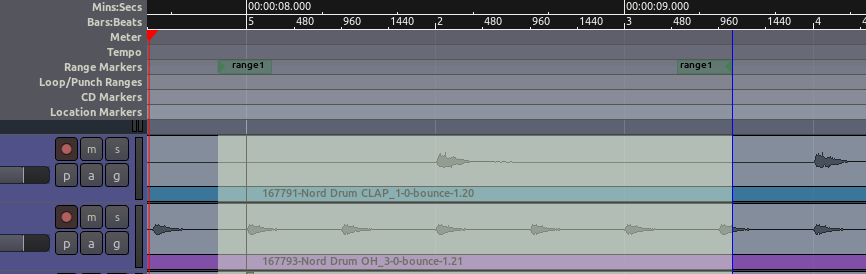
Range Markers are essentially two location markers the are grouped together to mark the beginning and end of a section in the timeline. You can user Range Markers to “bookmark” (so to speak) one or more Ranges that you need to remember or use again later. Range Markers look like this on the timeline:
There are a few ways to create Range Markers:
- From a Range selection, right click on it and choose “Add Range Marker”.
- From the timeline, right click on the “Range Markers” horizontal space and choose “New Range”.
- From one or more selected Regions, right click on the Region and choose “Add Single Range Marker” (if a single Region is selected), or “Add Range Marker Per Region” (if multiple Regions are selected).
TIP: You can clear all existing Range Markers by right-clicking on the Range Markers area of the timeline and choosing “Clear All Ranges”.
Continuing
You now know how to Export isolated Regions, selected Ranges from your Session, or the entire Session as a Stereo Mix. The last section of this tutorial explains saving sessions, snapshots, and templates.
Next: SAVING A SESSION