Exporting is the process of saving a Region, Track, or entire Session to a file on your computer which you can listen to, burn as a CD-R, or convert to an MP3 to share on a website.
Export the Entire Session
Once you have finished your composition, the most common export operation is to export the entire Session to an audio file.
Bird’s Eye View of Entire Session
At this point it’s a good idea to Zoom Out and take a look at your whole session before exporting.
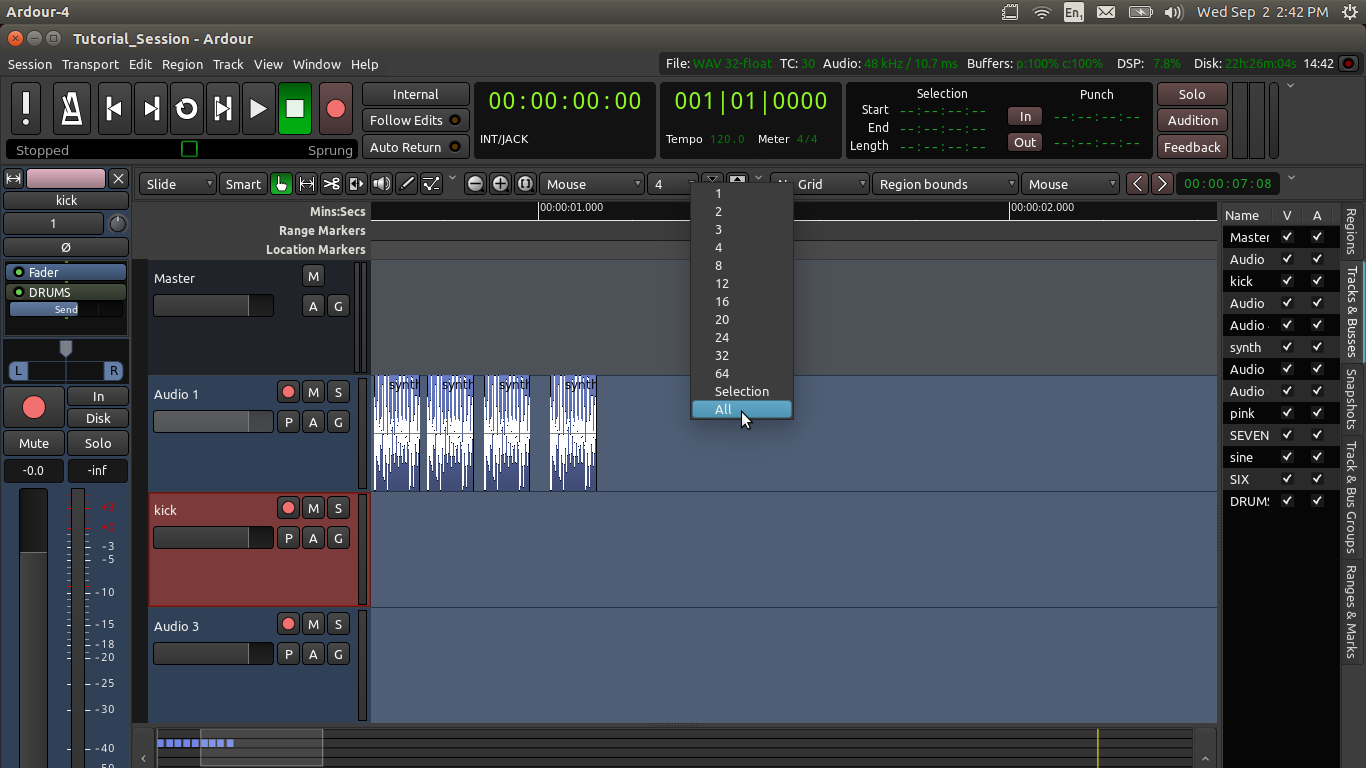
- Select “All” from the menu “Number of visible tracks”:
- Click on the “Zoom to Session” button (third button in the Zoom Options):

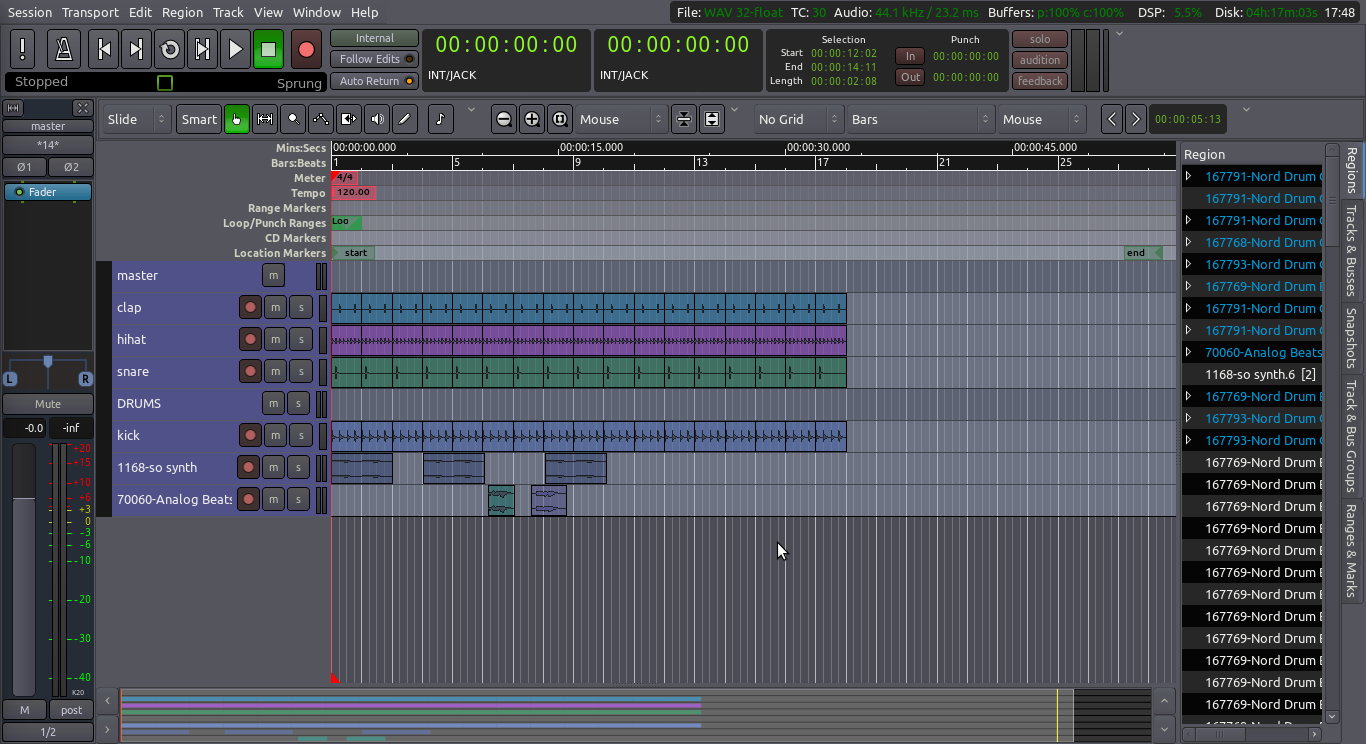
- You should now have a nice overview of your whole session, like this:
Listen to your piece one last time and make sure you hear everything the way you want (any Solo or Mute button you forgot to deactivate? Any volume adjusment left to do? etc.)
Start and End Markers
Finally, make sure the Start and End markers are in the right place.

Everything included between the Start and End Location Markers in the Timeline will be exported, so you have to set the markers first if they are not in the correct position. In the image below, clearly the End marker is too far to the right in the timeline. This will result in a huge silence after the end of the piece (that is, between the last Region and the End marker).
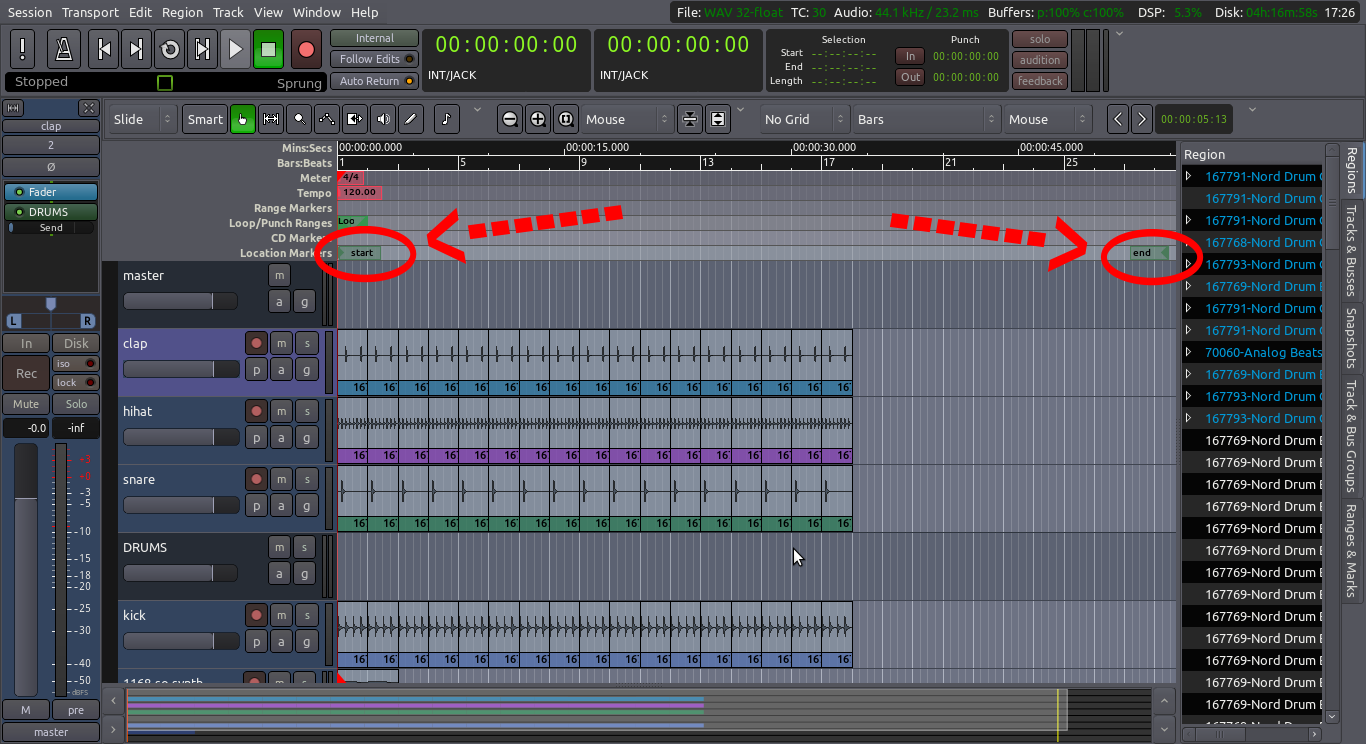
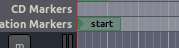
If your End marker is too far after the end of your piece, click and drag it to the left until it is pretty close to the end of the very last Region of your composition.
Export it!
To Export a Session, use the top menu: Session > Export > Export to Audio File(s)…. This will open up a dialogue box with several options.
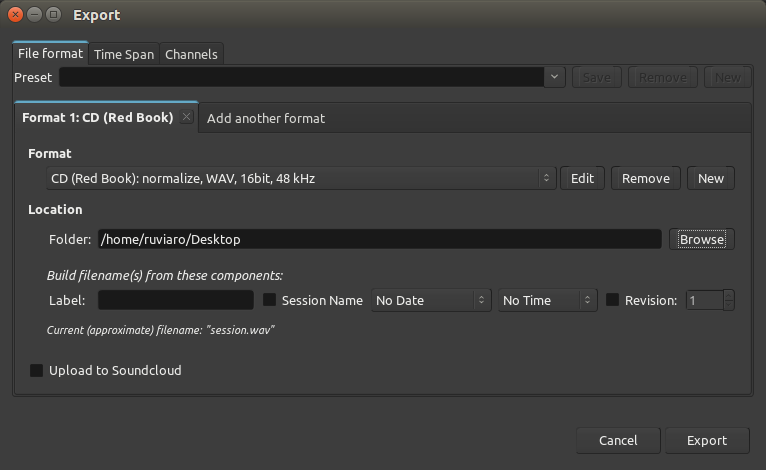
- Preset: this is NOT where you write the file name. Don’t worry about this field now.
- Format: this allows you to choose the file format (WAV, MP3, OGG, FLAC, etc.). The default is CD (Red Book), which will give you a WAV file.
- Add another format: if you’d like to export in more than one format at the same time, click on this tab.
- Location: this is the place where you will find the file after it is saved. By default, it is in the “export” folder that lives inside your main Session folder. You could also click “Browse” and select the Desktop, for example.
- Label: THIS is where you can create a unique name for the file. Ardour will automatically append the session name to the exported file, so if you don’t write anything here the name may end up something generic like “my-session.wav”. Use this field to give a unique name to your file.
Having chosen your options, click Export. After the operation is finished, you can find the file using your file browser.
TIP: Export is handled through the Master Bus, so the final file will include all the sounds from Tracks and Busses that were routed to it. This will include any Normalizing, Fading, Panning, and Automation you have created, along with the individual edits made to the Regions as well. If any of the Tracks have the Mute or Solo buttons engaged, this will also affect which Tracks will be heard in the Exported file.
Advanced Options
Click on the tabs “Time span” and “Channels” in case you need to access advanced export options.
Continuing
At the end of this chapter, you now have an Exported Stereo Mix representing your entire Session. You may also want to know how to export individual Regions or selected Ranges from your Session. This will be covered briefly in the next two chapters.
Next: EXPORTING REGIONS