A Range is a selection of the Timeline that can include one or more Tracks.
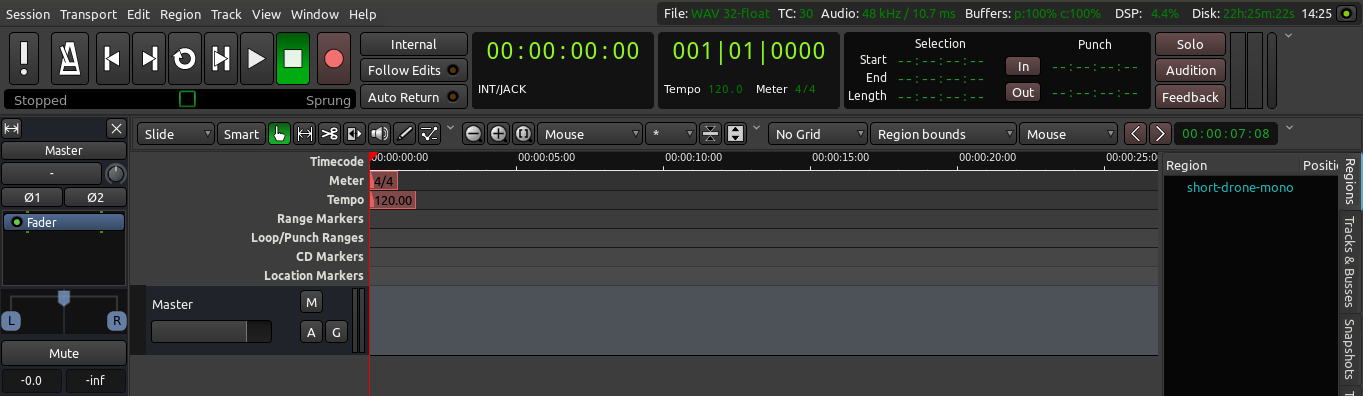
The Range tool (shortcut “R”) is located just below the Transport Menu in the Edit Window.

When you have selected the Range tool, your mouse pointer will look like a vertical line.
It can be useful to create Range selections that align with the edges of regions on your Timeline. Selecting the “Grid” and “Region bounds” items for Grid and Grid Point menus respectively makes this easy.

To make a Range selection, drag anywhere on the Timeline. The current Grid and Grid Point options determine exactly how the Range selection behaves. Once a Range has been selected, Right-Clicking on it opens a menu with Range-specific operations.
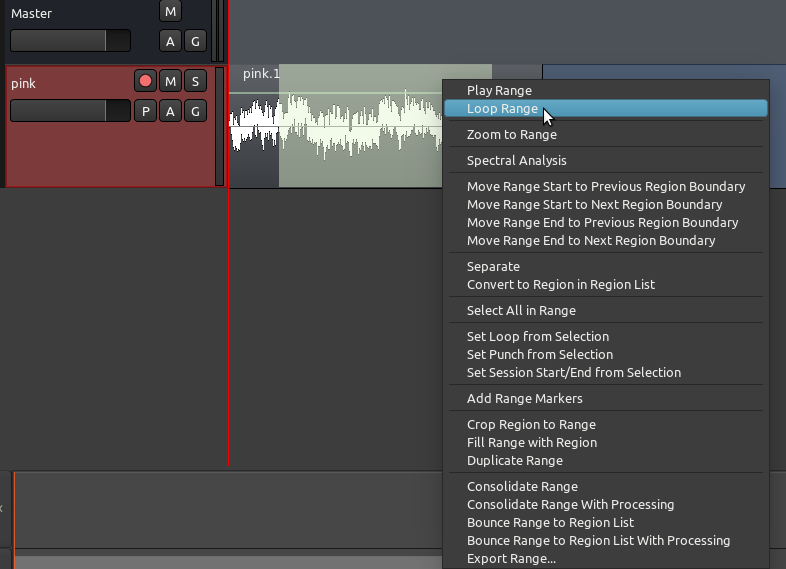
Loop range, for example, sets up Loop Markers around the current Range and begins looped playback. The Loop Start and Loop End points can be changed by moving the green triangles which correspond to each point.
Other useful options here for editing allow you to Duplicate the Range, Select All within the Range or Crop the Range.
Setting Up a Loop
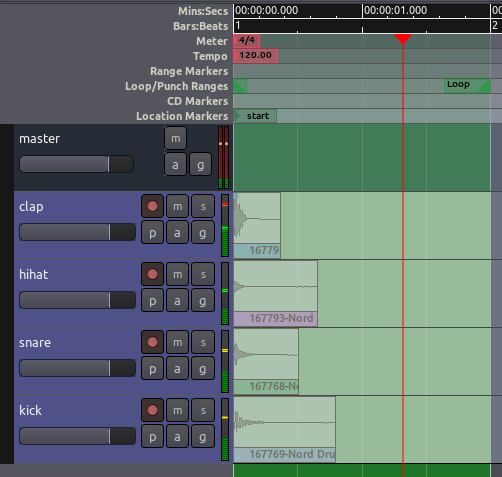
Returning to our rhythmic passage example, we will want to hear the passage we are composing, perhaps as a loop, while we are moving the samples around. To do that, we must create a Range to listen to within our session, so that we can return to exactly this point in the Session again and again.
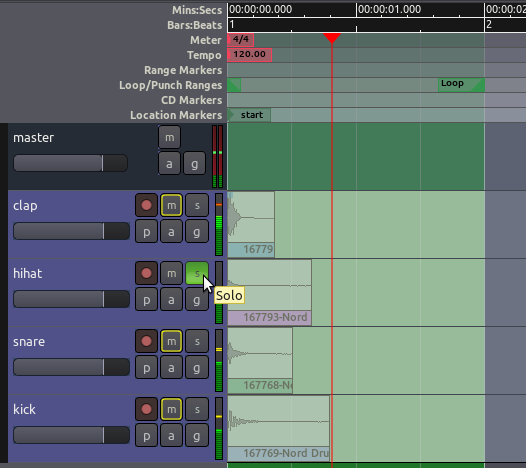
Zoom out if needed (shortcut “-”) to see full bars in the timeline. Use the Range tool to select an entire bar with the help of the Grid settings, and right-click inside that range to “Set loop from selection”. You will probably want to set the Grid so that your actions snap to certain metric elements of the session (for example, snapping to Beats). Once the one-bar loop has been set up, the screen will look like this:
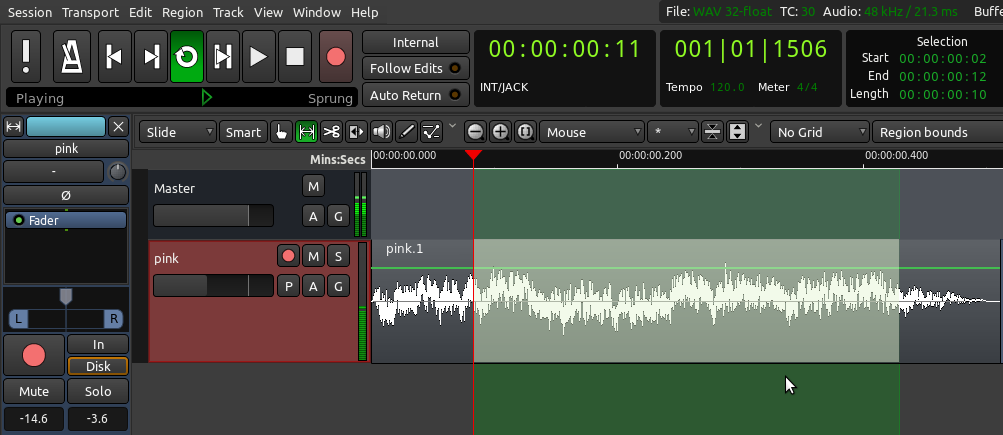
This will set up a loop range which you can play by using the Play Loop button in the Transport Menu at the very top of the Editor Window (shortcut: “L”). While the Range is looping, you can use the Solo button on each track to listen to each instrument individually.
Continuing
In the next step, we will learn about Working With Regions to compose a rhythm with these samples.
Next: WORKING WITH REGIONS