An Equalizer (or EQ) allows you to separately control the gain of different frequency ranges of a sound.
This can be useful not only to sculpt the timbre of an isolated sound (for example, to make it sound ‘sharper’ or ‘smoother’), but also to make sounds of various timbres to integrate better into the Mix.
Often, even after adjusting Levels and Panning, different tracks with similar frequency content (for example, a bass guitar and a kick drum) may be difficult to tell apart in the Mix. An Equalizer is a good tool to address this.
3-Band Equalizer
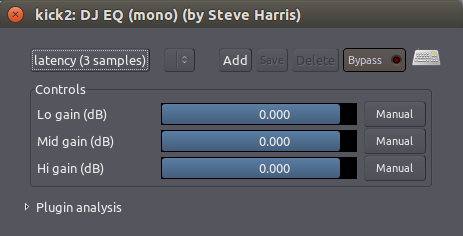
The simplest kind of Equalizer is the one familiar to us from analog mixers. It has three parameters, which adjust the Levels of three Bands, or frequency ranges: one for the Bass (low frequencies), one for the middle range frequencies and one for the Treble (high frequencies). The “DJ EQ” Plugin is just such an EQ. If you don’t have this particular plugin on your computer, explore the ones you have that have “EQ” in the name; you will likely find something similar.
Multi-Band (or Graphical) Equalizer
A more complex Multi-Band (or Graphical) Equalizer often has a lot more Bands. Each Band is centered on a frequency, and the Level of each Band can be independently adjusted. In some Multi-Band EQs, such as the “TAP Equalizer” Plugin shown below, the center frequency of each Band can be defined by the user. This allows you to either attenuate (or remove) an unwanted frequency, or to reinforce (boost) a desired one.
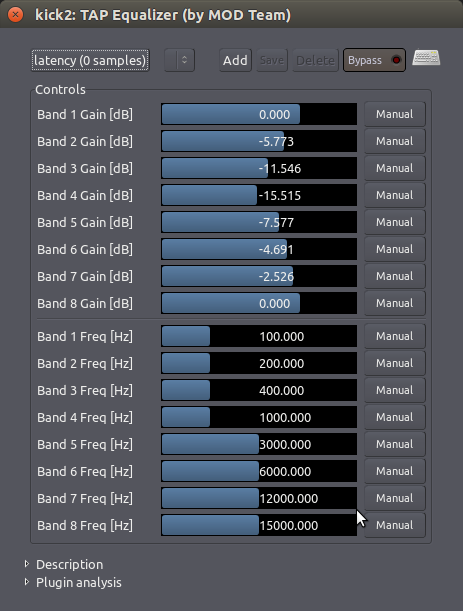
The overall “curve” of the Bands can also be used to determine the general tone of your Track or Mix. In the example above, the lower part of the mid-range frequencies have been “scooped out” a bit (note how Bands 1 and 8 are left untouched at 0 dB, while intermediary Bands 2 to 7 draw an attenuation curve, with Band 4 at -15 dB as the lowest point).
Parametric Equalizer
The Parametric Equalizer is the most versatile type of EQ used for Mixing because of its extensive control over all types of EQ parameters. Ardour ships with a Parametric Equalizer plug-in called the “a-EQ”. It looks like this:
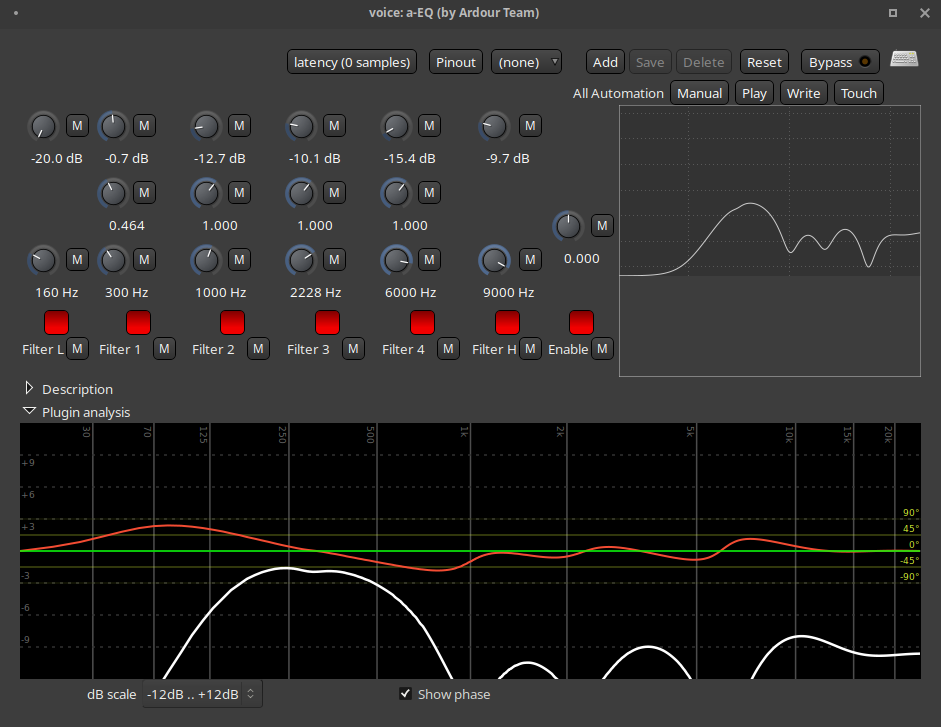
Others may have shinier graphical interfaces like this one from the Calf Plugins package, but they all essentially do the exact same thing. You may have EQ plugins on your computer that look a bit different than these screenshots, but the parameters you can control are likely very similar.
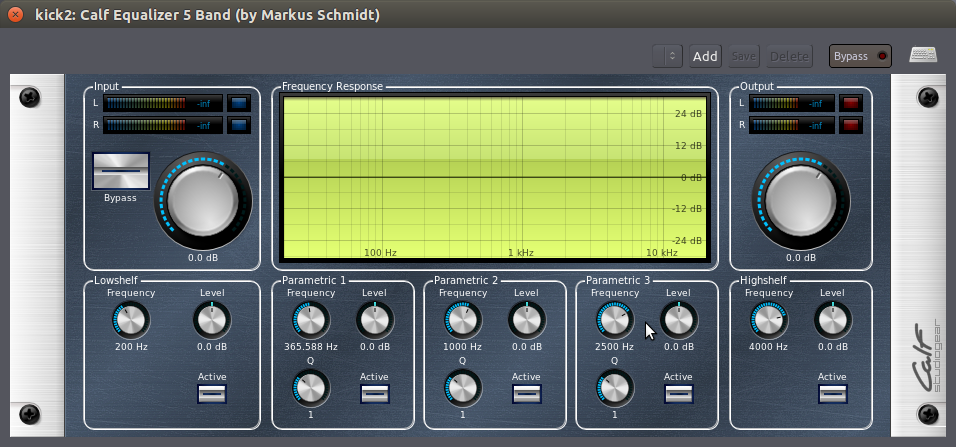
In both screenshots above (a-EQ and Calf EQ), there are options you can adjust for each frequency band. Each of the three bands has a “Level (dB)” adjustment to cut or boost frequencies, a “Frequency (Hz)” adjustment to select center frequency, and a “Q” adjustment (between 0 and 1) which determines how wide the range of frequencies to be affected will be.
High Shelf, Low Shelf
Both plugins shown above (a-EQ and Calf) also contain a High Shelf and Low Shelf. A Shelf cuts or boosts everything above (High Shelf) or below (Low Shelf) a specific frequency. For example, a Low Shelf can be used to remove unwanted rumbling sounds, and a High Shelf can be used to reduce hiss. The “Frequency” control of a Shelf determines the cut-off frequency. For example, a Low Shelf with cut off frequency 200 Hz means that the equalizer will attenuate everything below that frequency. The amount of attenuation is controlled by the Level knob. Notice that neither the High Shelf nor the Low Shelf have a Q parameter.
An Example of Using an Equalizer
In order to achieve a better separation of two instruments in the Mix through the use of EQ, you first need to find out where the two instruments overlap.
Here’s one approach. Using a-EQ or any equivalent EQ plugin, select an appropriate Band for one of the instruments. In the case of a bass guitar, it would be a low frequency band (start at, say, 100 Hz). Boost the “gain” to 10dB, change the “Q” (also called “bandwidth”) so that is a narrower range, and then scroll the “frequency” up and down slowly. You’ll hear a pitch move up and down. Then scroll it down slowly until you hear the frequency range where the two instruments overlap. Now simply reduce the “gain” to -5dB, and you will hopefully hear the instruments a bit clearer. Next, apply the same process to the other instrument.
There are many approaches to EQ. Hopefully this will provide one example of how to begin EQ’ing Tracks in your Mix. But most importantly, when it comes to EQ, it is better to use too little than too much, unless you’re consciously using extreme EQ as a compositional parameter.
Continuing
You should have enough tools now to create a clean, well-balanced Stereo Mix of your Session. However, if you want the parameters of your Faders, Panning or Plugins to change over Time, then you will want to explore the Using Automation chapter next. If not, then skip ahead to learn how to Export Sessions in the following section.
Next: USING AUTOMATION